
 IN OUR OWN VOICES


How to Make a Book Style Journal
IN OUR OWN VOICES
How to Make a Book Style Journal
|
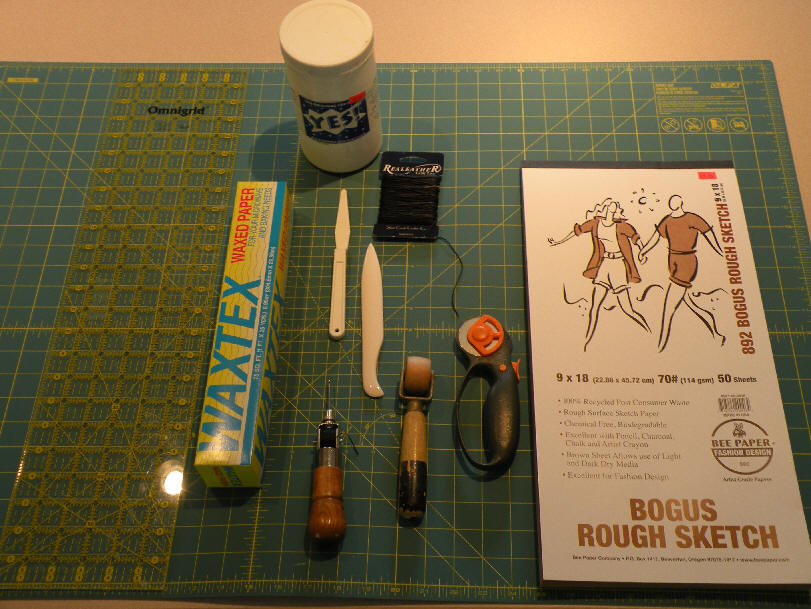
Day 1 Using 4 sheets of Bogus paper, cut each sheet into 3 sections, each section 6" x 9". Set aside. |
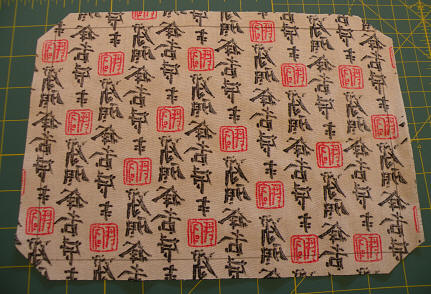
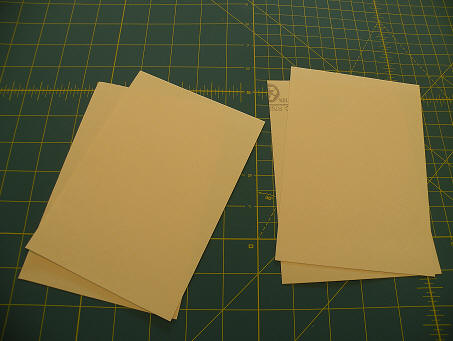 Using the file folder*, cut four rectangles, each rectangle 4 ¾ “ x 6 ¾ (*If using art board, cut two rectangles and use a single thickness.) |
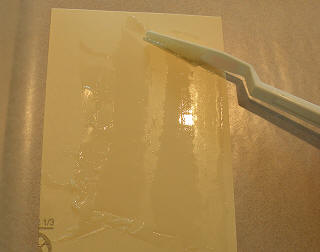 Use the trowel to apply Yes! glue all over the rectangle, being careful to carry the glue past the edges of the rectangle. Place the second file folder rectangle on top and press the two layers together. Repeat and set aside. |
|
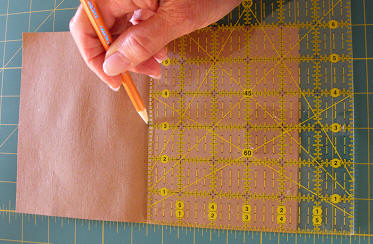
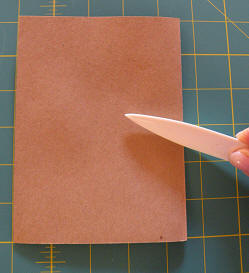
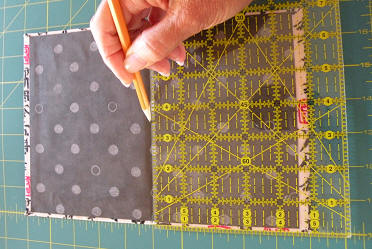
 Clip the corners of your paper just barely (approximately 1/8“) outside the corners you have drawn in pencil. |
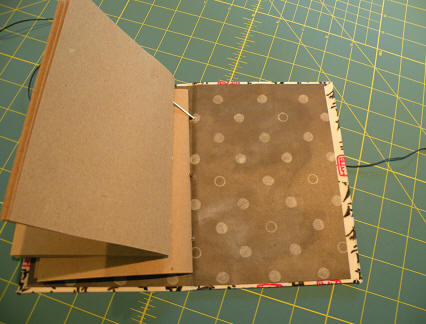
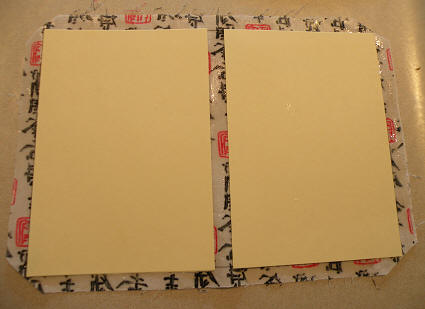 Place the file folder rectangles on top of the glued side of your cover paper, following the pencil lines. |
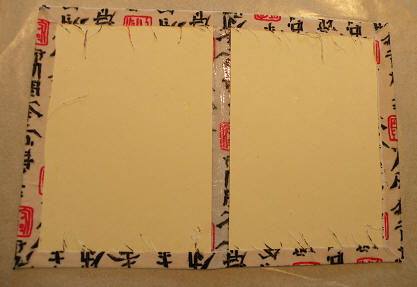 Fold the outside edges of the cover paper in and press firmly all around the edges. Use your bone folder or wallpaper roller to smooth the layers and make sure they are flat. |
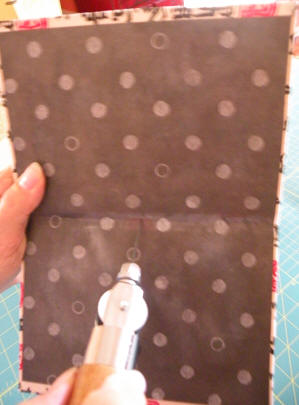
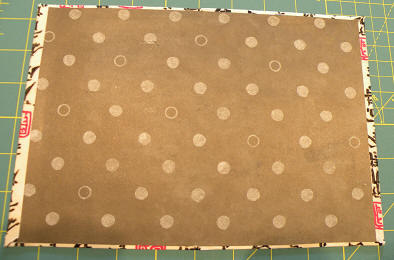 Cut a 6 5/8 “ x 9 3/4 “ rectangle from your inside cover paper. Place it onto a clean waxed paper surface and apply glue. Glue it into the inside of your book cover. Use your bone folder or wallpaper roller to make sure the layers are smooth and flat. |
|
|
Day 2
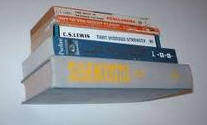
Arrange your pages
into three stacks, each stack |
|
|
Use your awl to
pierce the paper through |
 Pierce three holes along the center of your book cover, being careful to place the holes so they will match the holes on your pages (approximately 1 ½ “, 3 ½ “, and 5 ½ “ from the top.) |
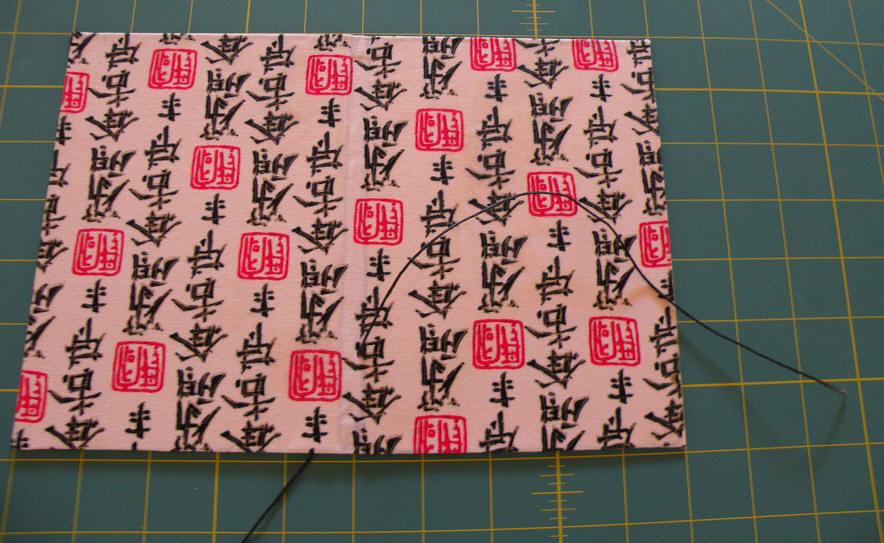 Use a 48” piece of thick thread to sew the three sections of pages into your book, one section at a time. When you first start sewing, leave a 10” tail hanging out so you will have enough thread to tie your journal with. |
 |
 Sew each section of pages separately. |
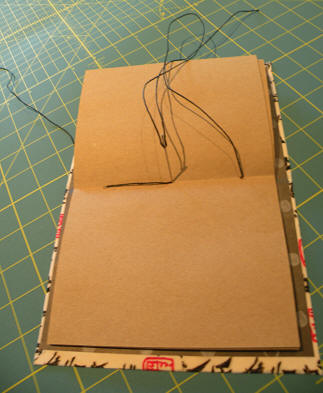 |
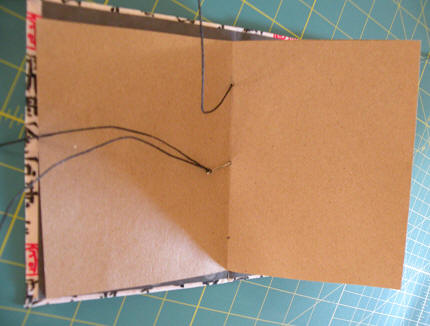
 Loop the tails of the thread to anchor them in the center of the spine of your journal. |
The important thing to
remember |
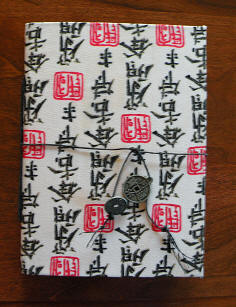
You might want to add a bead or two to finish off your journal. |
 |
 |
 |
|
This website was
created and is maintained for use in classrooms dedicated to
multicultural understanding. |