
 IN OUR OWN VOICES


How to Make an Expandable Scrapbook Journal
IN OUR OWN VOICES
How to Make an Expandable Scrapbook Journal
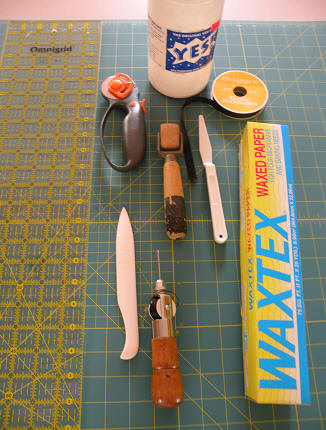 Materials in this picture, right to left: green self healing mat; waxed paper; ribbon; Yes! glue; artist's trowel; wallpaper roller; awl; rotary cutter; bone folder |
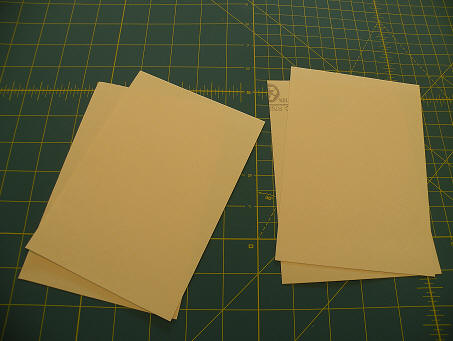
Day 1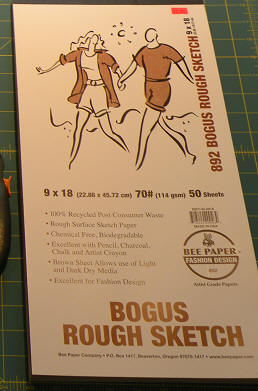 Using 4 sheets of Bogus paper, cut each sheet into 3 sections, each section 6" x 9". Set aside.  |
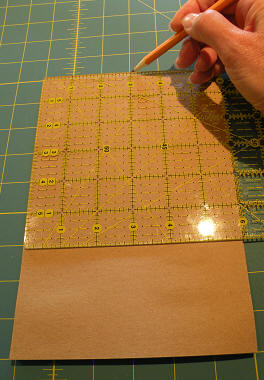
 Using the file folder*, cut four rectangles, each rectangle 6 ¾ “ x 10. (*If using art board, cut two rectangles and use a single thickness.) |
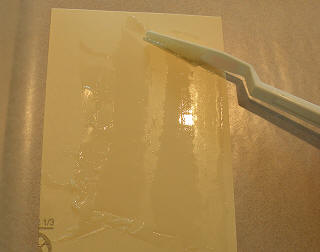 Use the trowel to apply Yes! glue all over the rectangle, being careful to carry the glue past the edges of the rectangle. Place the second file folder rectangle on top and press the two layers together. Repeat and set aside. |
|
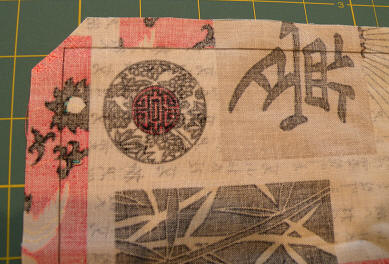 Clip the corners of your paper just barely (approximately 1/8“) outside the corners you have drawn in pencil. |
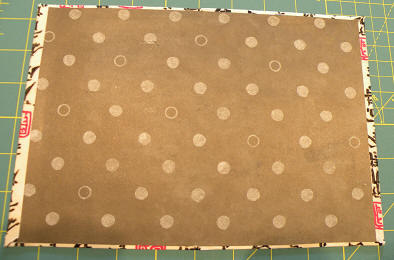
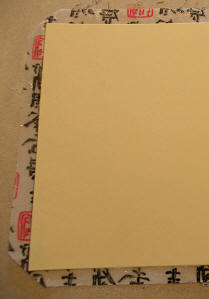 Place the file folder rectangles on top of the glued side of your cover paper, following the pencil lines. |
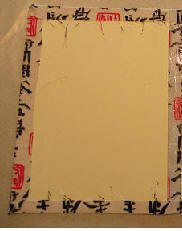 Fold the outside edges of the cover paper in and press firmly all around the edges. Use your bone folder or wallpaper roller to make sure the layers are smooth and flat. |
Repeat these steps to make a second book cover. |
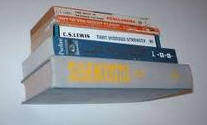 Place book covers between clean waxed paper sheets and stack heavy books on top of them while they dry overnight. |
Day 2
|
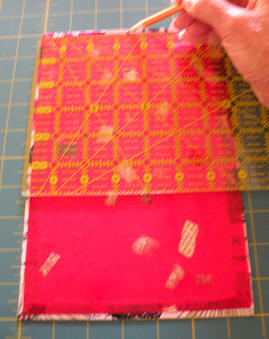 Make a faint mark in the center of your book covers along the edge where you will be punching with the hole punch. |
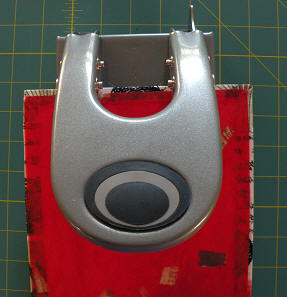 Line up your center marks with the arrow on the two hole punch and punch holes in your book covers and pages. |
 You can punch all of your pages at the same time. |
 Use about 30” of ribbon to tie your journal together. Twirl a small piece of Scotch tape around the end of the ribbon to make the ribbon easier to sew with.
|
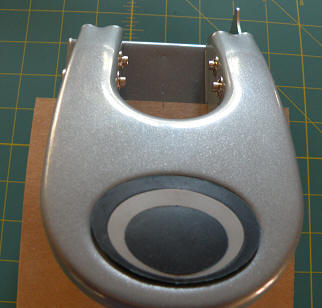
 Tie the ribbon very loosely; as your journal grows, it will be easy to untie the ribbon and add more pages as necessary. |
You may also use metal three ring binder rings instead of ribbon to hold your journal together.  |
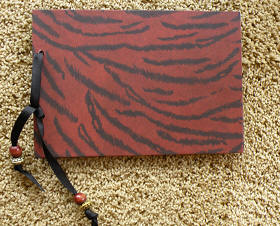 There is no one correct way to tie your journal. You might want to add a bead or two to finish it off. |
 |
The important thing to
remember |
 |
|
This website was
created and is maintained for use in classrooms dedicated to
multicultural understanding. |